In V7, we now give you the option to import an image by the Network Number on the account.
This Feature requires the purchase of the Document Management Module. For information about purchasing this feature or any feature, please contact the Sales Department.
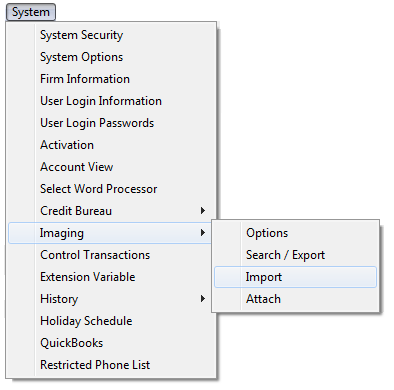
1. From the “Main Menu” select System.
2. Then select “Imaging” then “Import”.
3. By default you will be aligned to the “Image Batch /Barcode Import”.
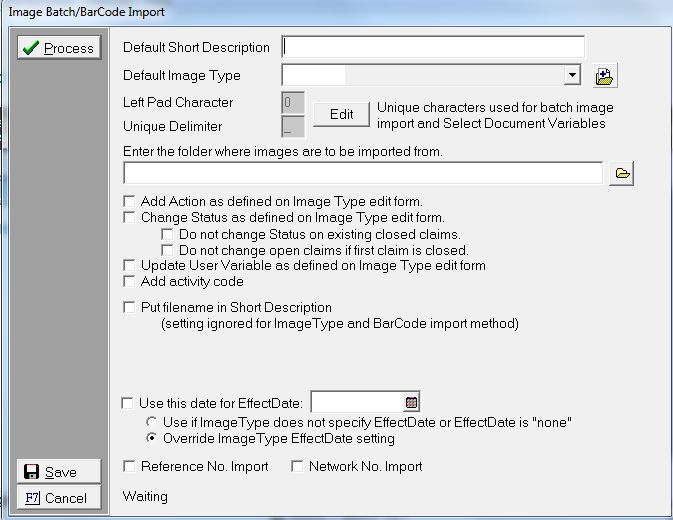
4. Select your selection criteria for “Default Short Description” and “Default Image Type”.
5. The “Left Pad Character” and the “Unique Delimiter” are set by default.
6. Then select the path of where your images are to be imported from by clicking the  button.
7. Select any additional options that you want completed in the Batch Import by clicking in this  checkbox. If you are interested in more details on the options available to you please refer to the “Batch Image Import “ that is located in the Help file.
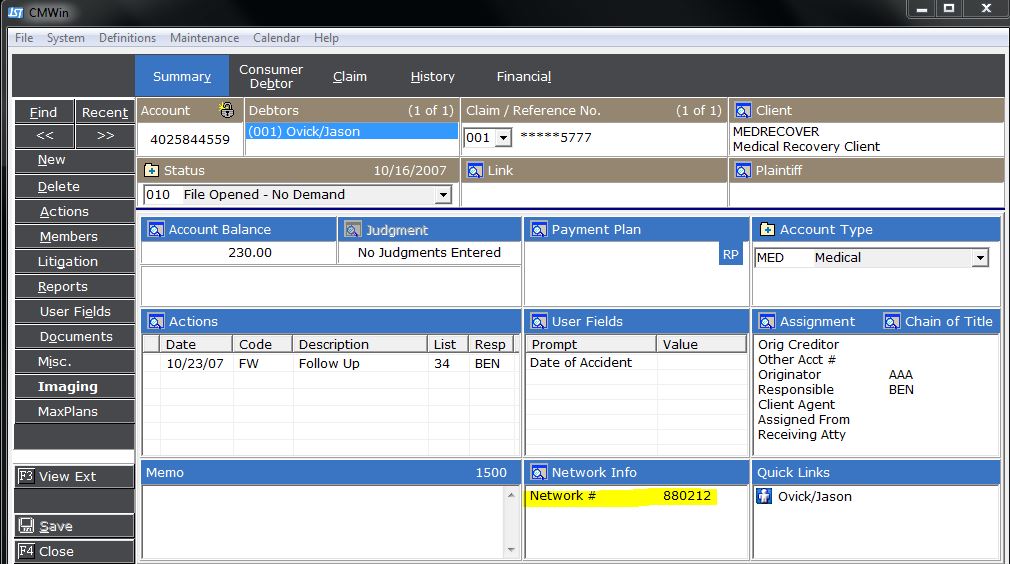
This new feature will allow you to use the Consumer Debtor’s “Network Number” as the identifying Account Number on your “Batch Image Import”.
Then make sure you check the following box  on the “Image Batch /Barcode Import” screen.
File Naming Convention-Things to Remember: It is still required that your images have the proper naming convention. In the instance of the “Network Number”, for example the image or document that you plan to import should be formatted with the “Network Number” only. An example of the file names would be: (880212.jpg, 880212.doc, 880212.pdf etc.). Another option would be to have the Network Number first then a delimiter such as “_” and any additional file naming information. An example of the file names would be (880212_DemandImage.jpg, 880212_Demandletter.doc, 880212_Demand.pdf, etc.)
1. After making your selection and checking the box on the “Image Batch/Barcode Import Screen”
2. Click the  button.
3. Then you will get a pop-up verifying the location of your import files.
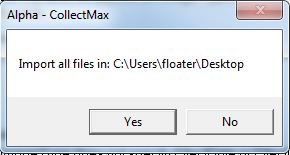
4. If the path is correct click the  button. If it not, click the no button and correct and click the button again.
5. After clicking the button, you will get a pop up that will show how many images will be imported and it will ask if you would like to have the images deleted if the images where imported successfully.

6. If you do want the images deleted click the button. If you want to keep a copy of the images, click the  button.
7. After making your selection, a report will pull up with a list of the accounts that were
Imported. This list will also notify you of any images that did not import successfully.
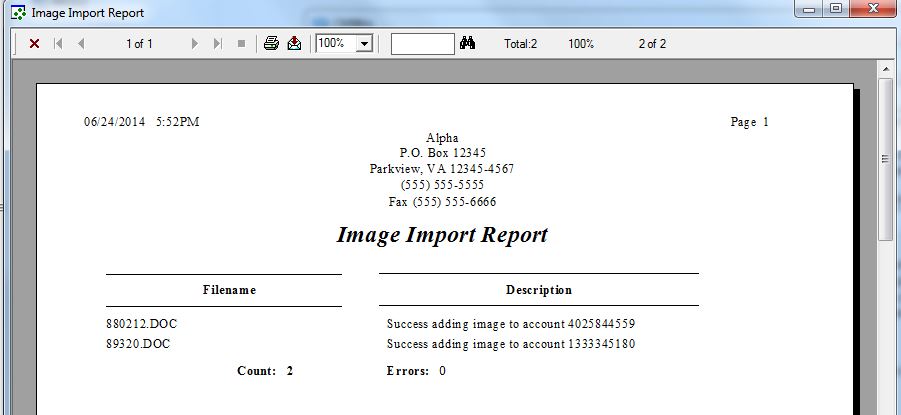
8. This report can be printed or saved for your records. Click the  button to close the report.
9. Click the  , and you will be returned to the “Main Menu”.